咨询电话:13660629576 咨询电话:13660629576

公司新闻
2024-03-19八戒体育知识大全,八戒体育人最需要的知识精解
1、八戒体育接头和中间头的设计应满足哪些要求?应满足的要求有: (1)耐压强度高,导体连接好; (2)机械强度大,介质损失小; (...行业新闻
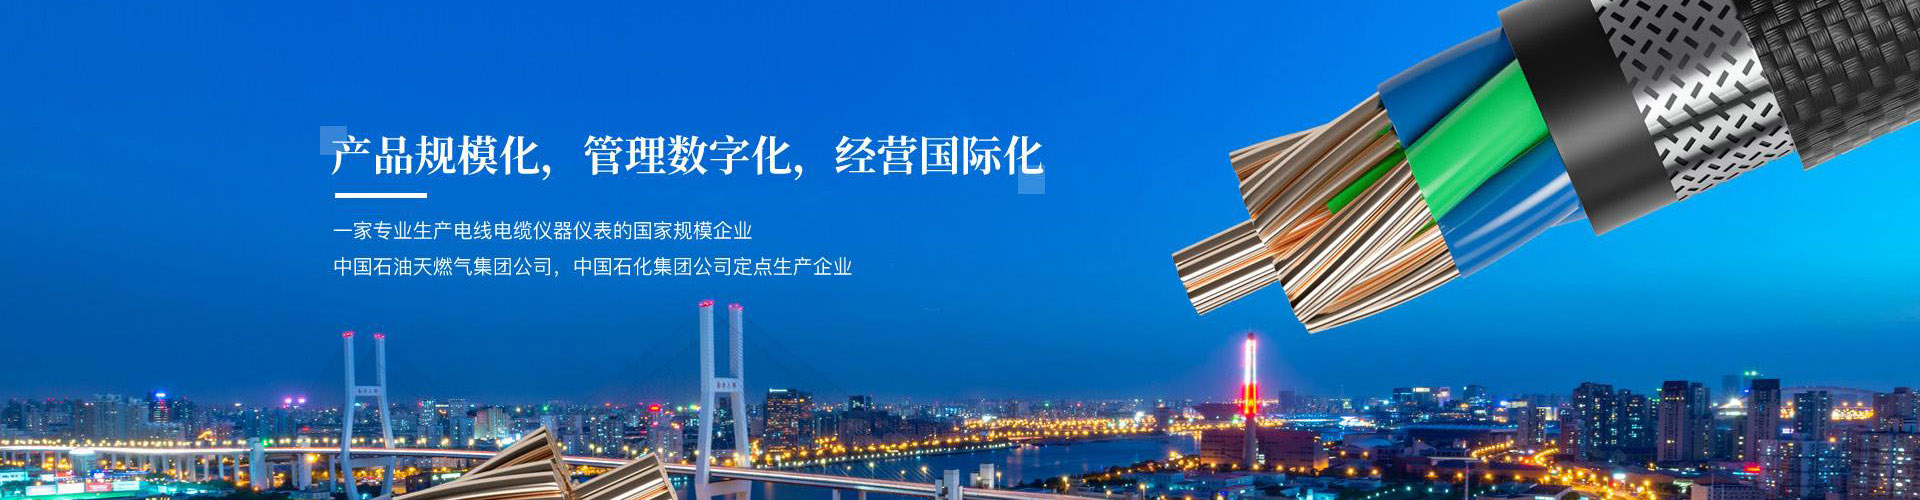
广东冠缆八戒体育集团有限公司。源头厂家【广东珠江冠缆实业】广东冠缆八戒体育集团有限公司冠缆电线八戒体育;创建于1996年、注册成立于2006年04月04日,公司集团地址:广州市番禺区沙湾镇青萝大道127号;广东冠缆八戒体育冠缆品牌是一家精专于电线,八戒体育、电气(电器)设备研发、制造、加工、销售服务集一体的专业化公司,公司处于:东莞市、深圳市、中山市三处市区交汇地带,交通物流处于粤港澳大湾区中心(番禺区)毗邻大湾区各市(区),拥有23年的电线八戒体育生产经验沉淀。 线缆品种适用各个行业,电器电气,家装布线,船舶重工,机场铁轨,酒店高档公寓,航天军工设备,矿山隧道用电用线,5G应用线缆数据,供电 ...
查看更多+服务热线